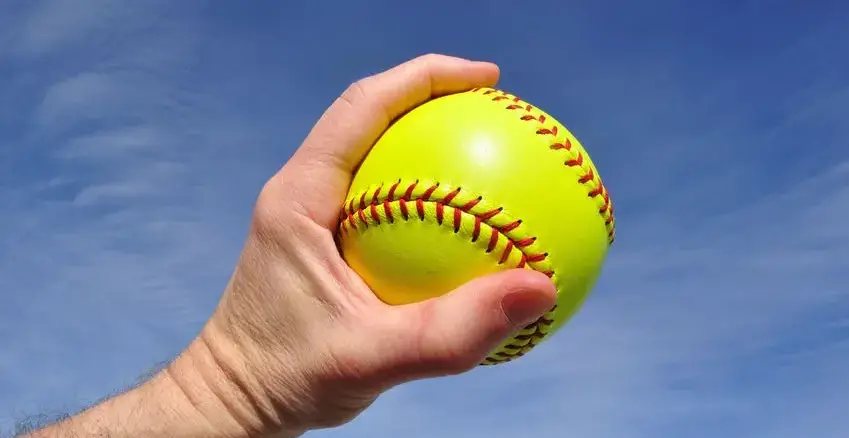
Throwing errors are one of the most common errors in softball. Overthrows and inaccurate throws are where the most runs are scored, especially at the inexperienced levels. Overhand throwing for beginners can be stressful and learning the basic mechanics is critical at the early stages of any players career.
Teaching Overhand Throwing for Beginners
Some Things That Effect Throwing
- importance of the game
- opponents
- skill level of the thrower
- experience of the thrower
- experience of the receiver
- score of the game
- knowing where the play is
- trying to throw “carefully”
Throwing under pressure and in a rush has the potential to cause errors even with well trained athletes. How many times have you seen someone throw into the stands at the College World Series Championships? Mechanics are critical, and will automatically take over when the thrower is stressed.
The truth is that no every situation allows players to use this checklist or these specific mechanics for throwing. The form used will depend entirely on the situation, how far from the target the thrower is and how the ball is fielded. For example, if the second base player fields the ball close to first base, she will likely use an underhand toss to get the ball to first base. This checklist is a general format to use in teaching throwing and solidifying basic throwing mechanics.
During a game, the players will not stop and go through all the checklist points before they throw. There is not enough time for that. They need to get the ball to its destination as quickly and accurately as possible. If they have learned these mechanics and their body has memorized the basic concepts, they will not need to think about mechanics before throwing. Ideally they will have mastered the mechanics so that the automatic is correct.
This is also only one of a few possible throws that are made during a game. There is also the underhand toss, the sidearm throw, and the throw that uses the crow hop for distance, the catchers throw on a steal attempt, and the quick toss of second base player to second on on a double play ball. The throw used will depend again on the place that the thrower is throwing from, the distance of the throw and the importance of the throw or time that the ball must get to its destination.
Here is a start with a checklist that I have adapted from the “Steps to Success” series.
Throwing Checklist
Preparation (set up)
- 3 or 4 finger grip across the seams
- glove side foot starts closer to the target
- weight is on the back foot
- glove or glove side elbow is pointed toward the target
- throwing hand elbow is at shoulder height at a 90 degree angle
- ball is held in the fingers and not the palm
- eyes are on the target
Execution
- your eyes are on the target as you step toward it with your throwing hand foot which is now in front
- weight transfers to your front foot then pushes off your front foot onto the glove side foot
- the shoulder leads the elbow of the throwing hand
- weight transfers to your front foot
- your forearm rotates towards the target with the ball up high
- the glove hand or elbow comes down as the throw is made
- the throwing hand arm extends to the target and the wrist snaps as you release the ball
Follow Through
- your weight is on your front (glove side) foot
- your front knee is slightly bent
- your throwing hand crosses over your body to the other side with your throwing shoulder forward
- your throwing shoulder is forward almost pointing at the target
- finish back in your balanced position with your eyes on the target you just threw to
I found it useful to laminate these checklists and have the athletes actually check the items off
while working on skills during practice.
